
This is a complete tutorial for beginners on how to develop a Java web application using Spring MVC, Hibernate, Spring Data JPA, and Java Servlet JSP from scratch. This tutorial will help you understand basic concepts, configurations, tools required, and coding to execute a simple Login page with Create, Read, Update, and Delete User detail functionalities (CRUD operation).
This article can be divided mainly into 3 sections:
- One, Tools setup, you are here 😊
- Two, Coding + concepts (Read operation)
- Three, Coding + concepts (Create, Update, and Delete operation)
From my learning, I understood that finding everything on one shelf isn’t easy.
So, how about I share what I’ve learned? 😃
This blog will help you learn basic concepts and will guide you in developing a simple Java web application from scratch.😉
Technologies/Tools required 🛠 :
- Java 8 (jdk-13 and jre1.8.0_231)
- Eclipse IDE — Oxygen (Release 4.15)
- MySQL Server — Version 8.0.20
- MySQL Workbench 8.0.20 for GUI
- Apache Tomcat 9
- Spring MVC framework 5.1
- Hibernate framework 5.4
- Spring Data JPA 2.1.5 (Java Persistence API)
- Java Servlet 3.1 and Java Servlet JSP 2.3.1
Remember to download the latest version of tools to stay updated. Versions mentioned in this article and videos are the latest to its published day.✨
Tools Installation Steps and Why:-
Why JDK, JRE and JVM?
In short, we code in a Java file, it is converted into a class file so that the machine can understand/read the logic and execute it.
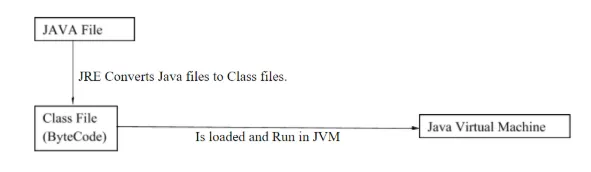
JVM (Java Virtual Machine) is a virtual machine that doesn’t physically exist. It provides a runtime environment in which Java byte code can be executed. It can also run those programs which are written in other languages and compiled to Java byte code.
JVM performs the following tasks:
- Loads code
- Verifies code
- Executes code
- Provides runtime environment
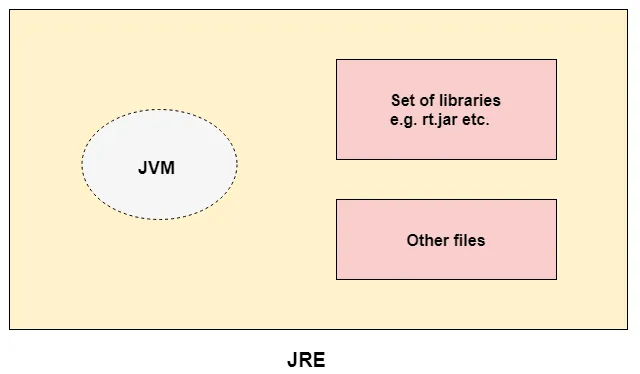
JRE (Java Runtime Environment) is a set of software tools sufficient to develop and run Java applications. It is used to provide a runtime environment. It is the implementation of JVM, and JRE physically exists.
It contains a set of libraries + other files that JVM uses at runtime.
JRE = JVM + library files/java package classes (Util, Lang, Math, etc)
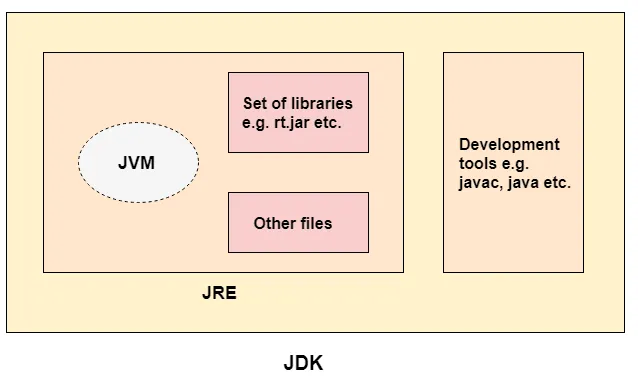
JDK(Java Development Kit) is required to write, compile, and run a program. It physically exists. It contains JRE and other development tools. JDK also contains a few other resources such as an interpreter/loader (java), a compiler (javac), an archiver (jar), etc.
JDK = JRE + Tools needed to develop a Java program
JVM, JRE, and JDK are platform-dependent because the configuration of each OS is different from each other. However, Java is platform-independent and a portable language because of byte code.
- Download JDK and JRE from the links below.
- Once downloaded and installed, right-click on ‘My Computer’ -> Properties

- Select ‘Advanced system settings’
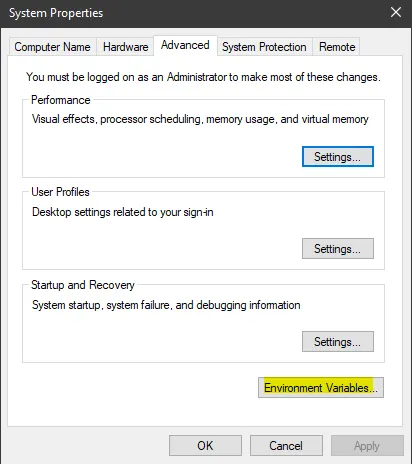
- Select ‘Environment Variables’
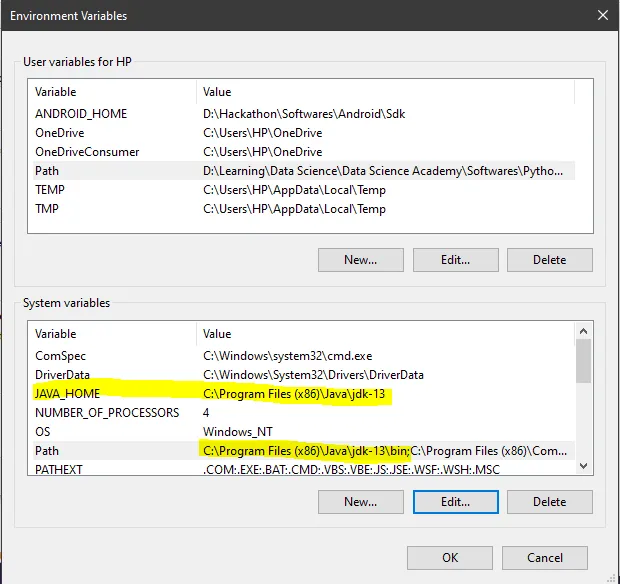
- Under ‘System variables’, click New and provide the below details.
Variable Name: JAVA_HOME
Variable Value: <<JDK location>>
- Select ‘Path’, click Edit, and New. Provide JDK location up to bin.
- Click OK
To test if Java is properly installed, open the command prompt(cmd) and type-
java -version
It should display the installed Java version — denoting installation is successful.👍


Why IDE?
An Integrated Development Environment (IDE) is a software application that provides facilities to computer programmers for software development. An IDE normally consists of at least a source code editor, build automation tools, and a debugger.
In general, we need an IDE to code.😃
Eclipse IDE is famous for Java Integrated Development Environment and is free and open-source software, supports tons of languages with more plugins coming all the time, and is incredibly simple to install and use, even for a beginner.
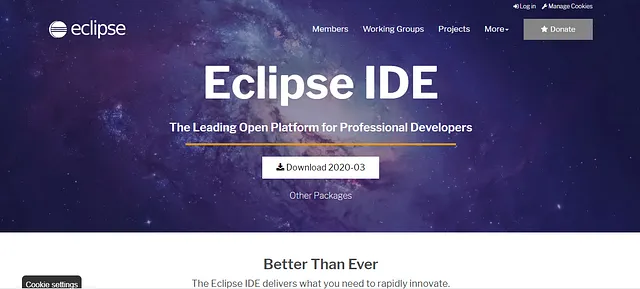
- Download the latest version. Click on ‘Download 2020–03’.

- Download Eclipse IDE according to your OS. I’m using Windows, so I’ll go with ‘Windows 64 bit’ under ‘Download’.
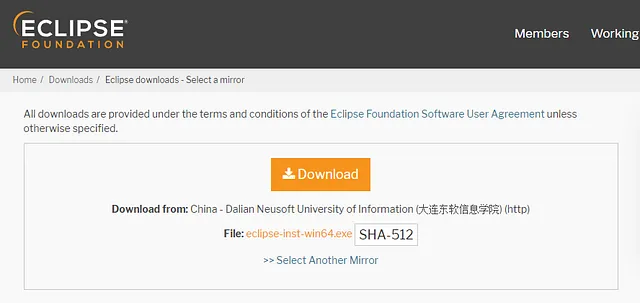
- Click on Download. There is also an option for you to change the Mirror. Choose the one closest to you for faster download.
- Once the download is complete, double-click the exe file.
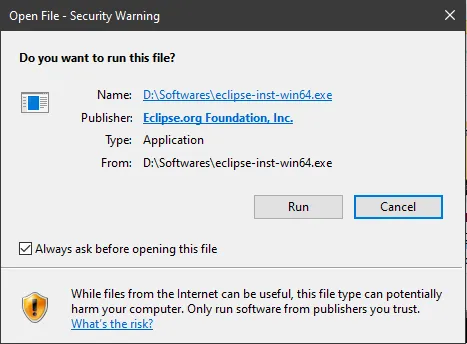
- Click Run.
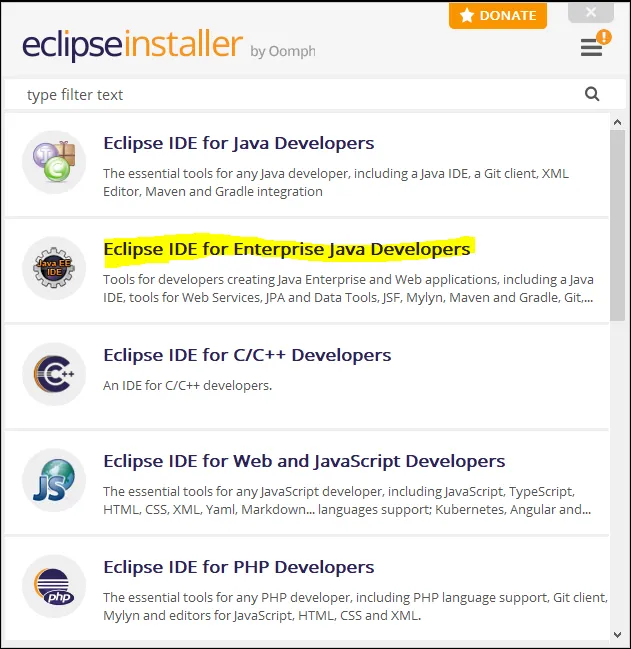
- Select ‘Eclipse IDE for Enterprise Java Developers’. This is required for developing Java web applications using technologies JPA and JSP.
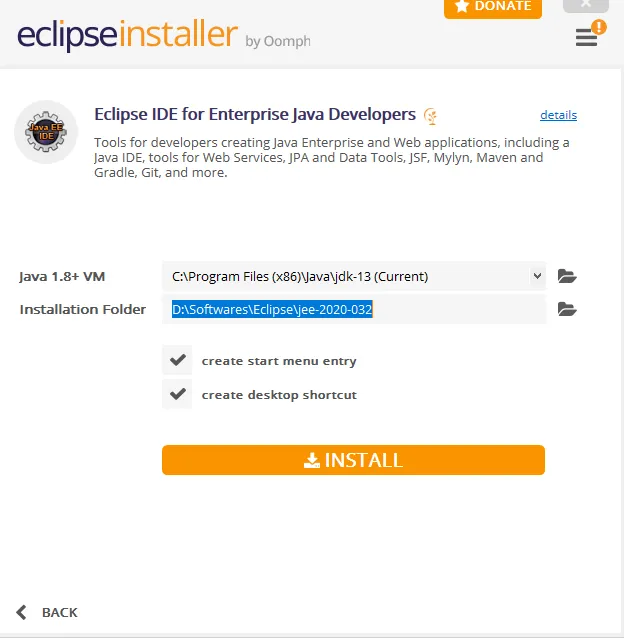
- Provide the previously downloaded JDK location, and installation folder and hit INSTALL.
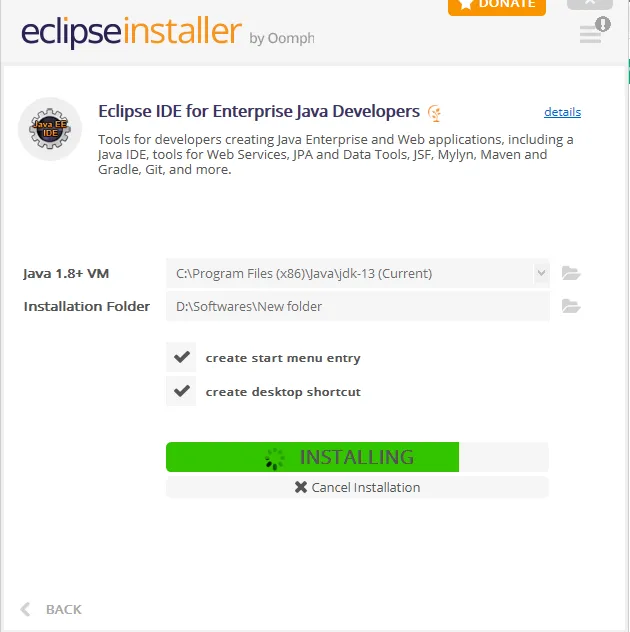
- Installation might take a few minutes, as it may download a few artifacts in the background which is required for Eclipse.
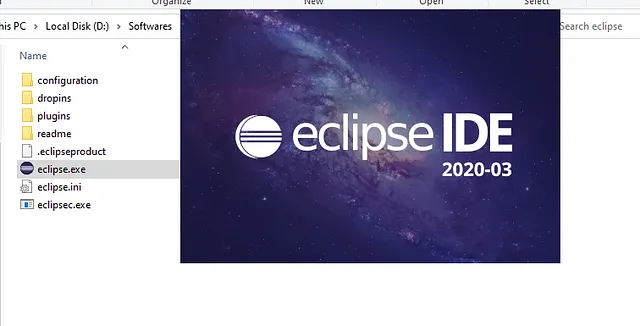
- Once installation is completed, go to the installation folder, and click eclipse.exe to run the IDE.
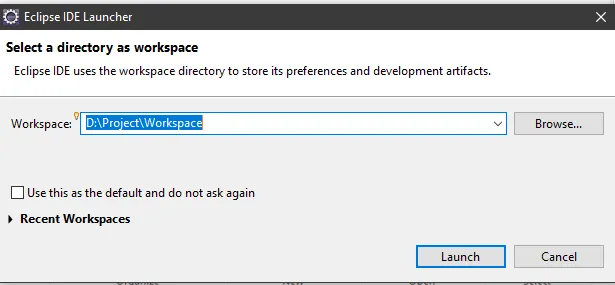
- Provide a Workspace location where the project will be developed and launched.

Why MySQL?
MySQL is a free and open-source relational database management system based on SQL — Structured Query Language. It is used to store, retrieve, modify, and administrate a database.
In short, it is where all the data will be stored for the application.😃
- Click on the below link and follow the steps as instructed.
- Note down the root password as it is required to login to the MySQL database.
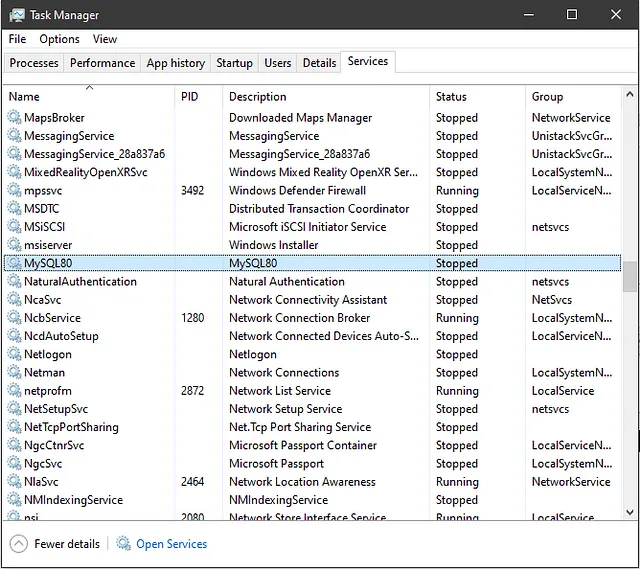
- Once all the steps are done, go to Task Manager -> Services-> MySQL80
- Status will be ‘Stopped’ initially. To run MySQL, this service must be in ‘Running’ status.
- Right-click -> Start – Remember to perform this operation whenever you run your Java web application.
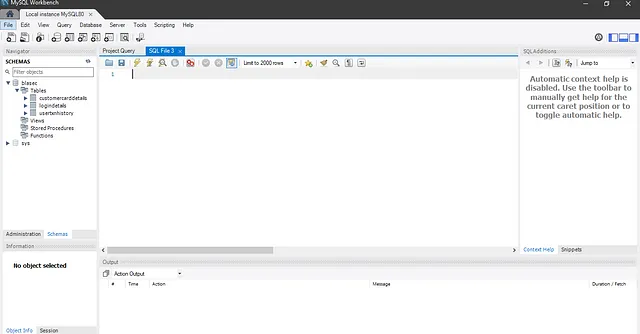
- Search ‘MySQL Workbench’ in the Start Menu.
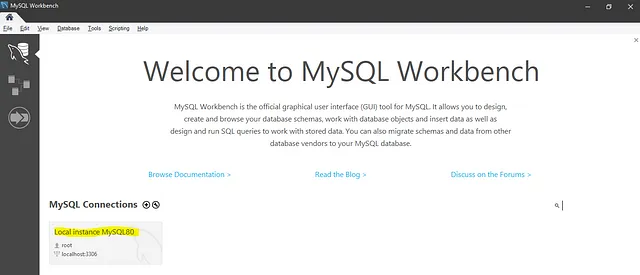
- Click on the Local instance and provide the root password.
Why Apache Tomcat?
Apache Tomcat is an open-source implementation of the *Java Servlet, *Java Server Pages, Java Expression Language, and Web Socket technologies. Tomcat provides a ‘pure Java’ HTTP web server environment in which Java code can run.
In short, it is an application server designed to execute Java Servlets and render web pages that use Java Server Page(JSP) coding.
- Click on the below link and follow the steps as instructed.

What is Servlet and JSP?
- The servlet is HTML in Java whereas JSP is Java in HTML.
- Servlets run faster compared to JSP.
- JSP is a web page scripting language that can generate dynamic content while Servlets are Java programs that are already compiled which also creates dynamic web content.
- In MVC(Model View Controller), JSP acts as a view and the servlet acts as a controller.
What is Java Servlet?
A Java Servlet is a Java software component that extends the capabilities of a server. Although servlets can respond to many types of requests, they most commonly implement web containers for hosting web applications on web servers.
What is JSP?
Java Server Page is a collection of technologies that helps software developers create dynamically generated web pages based on HTML, XML, SOAP, or other document types. JSP is similar to PHP and ASP but uses the Java programming language. It is a server side technology. JSP tags are used to insert JAVA code into HTML pages.
Difference between Tomcat and Apache?
Tomcat provides dynamic content by employing Java-based logic, while the Apache web server’s primary purpose is to simply serve up static content such as HTML, images, audio, and text.
Thank you for reading! I hope you’re able to understand and proceed with development with this explanation and please share to help others too. 😊

Click on the below link to continue coding (READ)— Part 2:
Java web application using Spring framework? Part 2/3 (Coding)
Click on the below link to continue coding (CREATE, UPDATE, and DELETE)— Part 3:
Java web application using Spring framework? Part 3/3 (Coding)
Well, there are a lot of areas for improvement in this project and, for any new suggestions or comments, I’m all ears.
Download project from: https://github.com/sharuroy16/customer
Project developed using this methodology: https://github.com/sharuroy16/blasec